Drywall damage can affect the appearance of your walls and the quality of a new paint finish. Working with a drywall repair professional helps restore damaged areas before painting, creating a smoother surface that blends with the surrounding wall. Professional repairs also help new paint achieve a more consistent appearance across the finished surface. Here is more information about the process of patching and painting drywall:
Assess Wall Damage
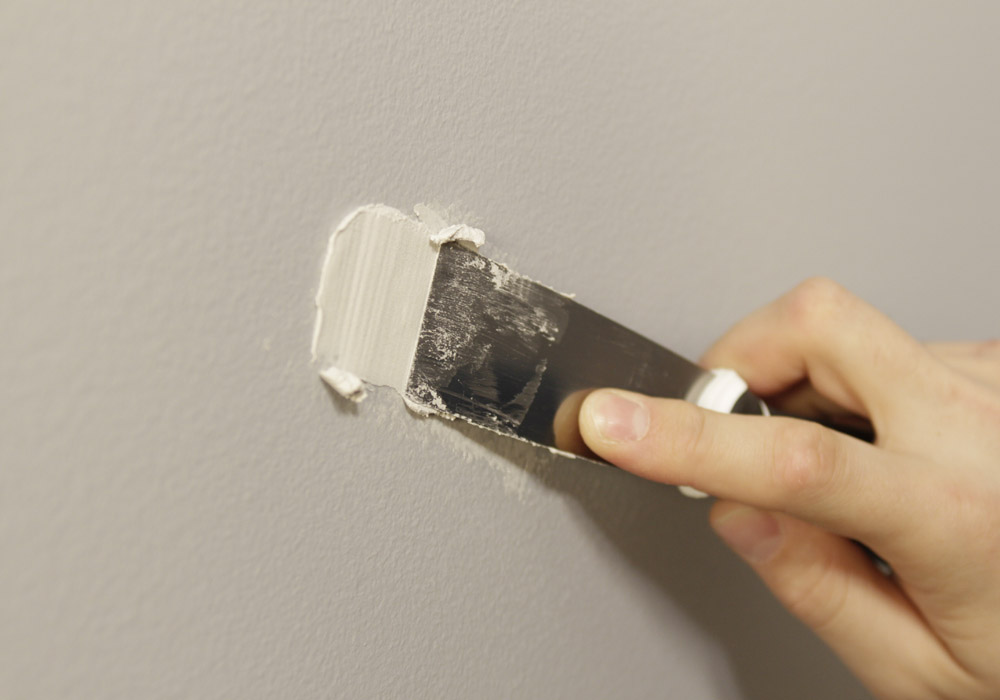
Every repair starts with understanding how the damaged area affects the surrounding drywall. While small dents and nail holes are usually repaired with joint compound, larger holes often require a drywall patch and reinforcement; this helps to restore the wall’s strength. A home improvement technician examines the surface for cracks, loose drywall, and weakened sections, and they choose repair materials such as joint compound, mesh tape, or patch kits based on the type and extent of the damage.
During the assessment, the specialist checks for nail pops caused by drywall fasteners shifting beneath the painted surface. Hairline cracks also receive close attention, particularly around drywall joints and inside corners where minor movement often appears. This inspection helps determine whether the damaged section only needs patching or requires additional preparation before repairs begin.
Prepare Drywall Surfaces
Preparing the damaged section helps patching materials adhere more evenly to the existing drywall surface. A drywall repair professional removes loose sections, chipped paint, and debris before applying repair materials. Cleaning the area also helps reduce dust that could affect the finished patch. The benefits of preparing the drywall surface during repair include:
- Supports an even finish: Professional surface preparation helps reduce visible patch outlines after the paint dries.
- Reduces extra sanding: Proper surface preparation limits uneven compound buildup, creating a smoother repair.
- Helps texture blend better: A properly prepared surface allows new texture to match the surrounding wall more consistently.
Match Wall Textures
Matching the repaired section with the existing wall helps create a more uniform appearance after painting. Different homes use smooth, orange peel, or knockdown finishes that require distinct application techniques. Feathering the edges reduces visible transitions between the repaired area and the original surface. Allowing the texture to dry completely also helps the repaired wall accept paint more evenly.
Finish With Paint
The final step in drywall repair is painting the patched area. A drywall repair professional matches the new paint to the existing wall, and careful application helps create a more consistent finish. Thin coats help produce a smoother appearance than a single heavy coat.
Edge feathering helps blend the new paint into the existing surface, so the repaired area transitions smoothly without visible lines. After the first coat has dried completely, experts apply a second coat to achieve even coverage and allow it to dry thoroughly before moving on. Once the paint has dried, professionals perform a final inspection to identify and correct any minor imperfections before the wall is returned to regular use.
Invest in Professional Drywall Repair
Proper preparation helps each stage of the repair support a smoother finished wall after painting. Matching the texture, applying primer, and using the right painting techniques all contribute to a more uniform appearance. Contact a professional handyman today for help with drywall repair and painting projects throughout your home.